Instruction:
It support Mobile Computer and can replace the 3DR data transmission module and free you from the limitation of USB cable.
It is suitable for all flight control with TTL interface.
Specification:
Wireless Module:
FCC compliant
Wifi standard: 802.11 b/g/n
Frequency Range: 2.4G-2.5G (2400M-2483M)
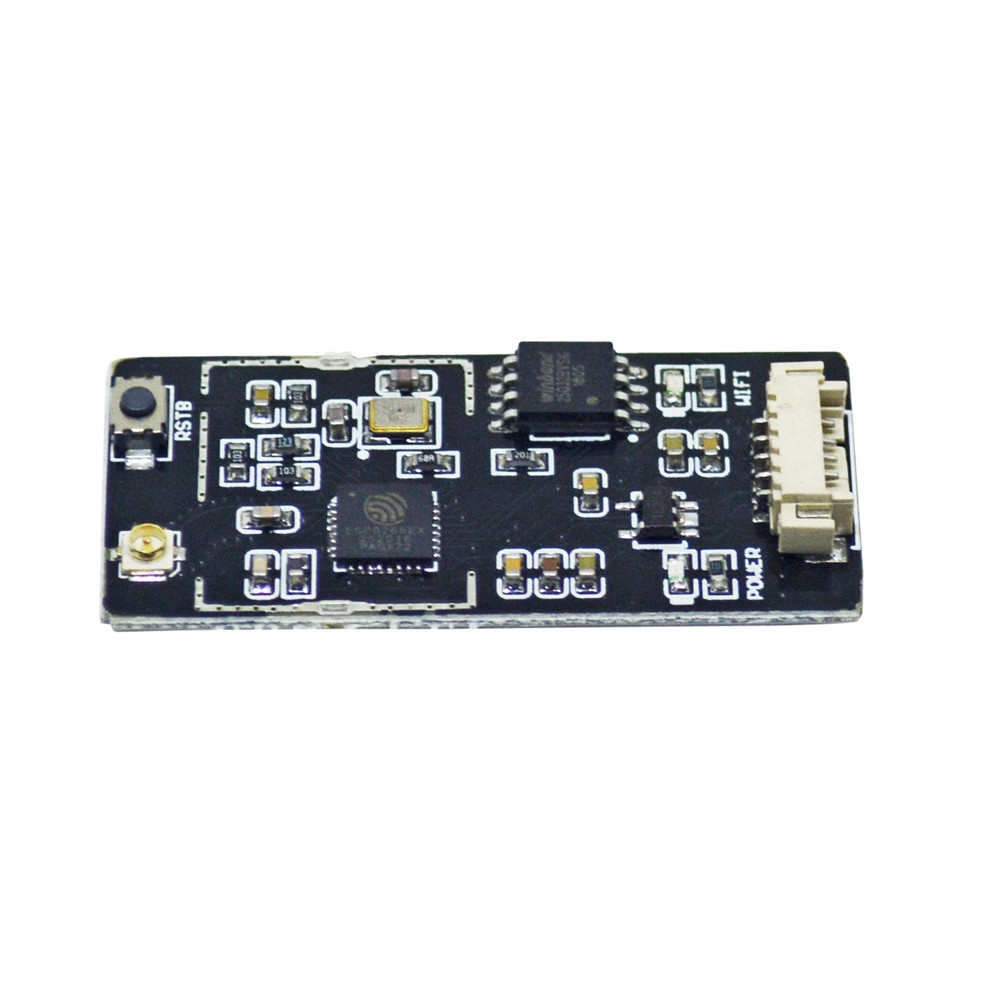
Size: 18.5 x 26mm
Suitable For: Pixhawk, APM2.5/2.6, Mini APM
Version: APM Version/ Pixhawk Version
APM Version is compatible with APM, Mini APM Flight Controller
Pixhawk Version is compatible wiht Pixhawk Flight Controller
Version: APM Version/ Pixhawk Version
APM Version is compatible with APM, Mini APM Flight Controller
Pixhawk Version is compatible wiht Pixhawk Flight Controller
Transmit power:
- 802.11 b: +20dBm
- 802.11 g: +17dBm
- 802.11 n: +14dBm
Receive power:
- 802.11 b: -91dBm (11Mbps)
- 802.11 g: -75dBm (54Mbps)
- 802.11 n: -72dBm (MCS7)
Connect data:
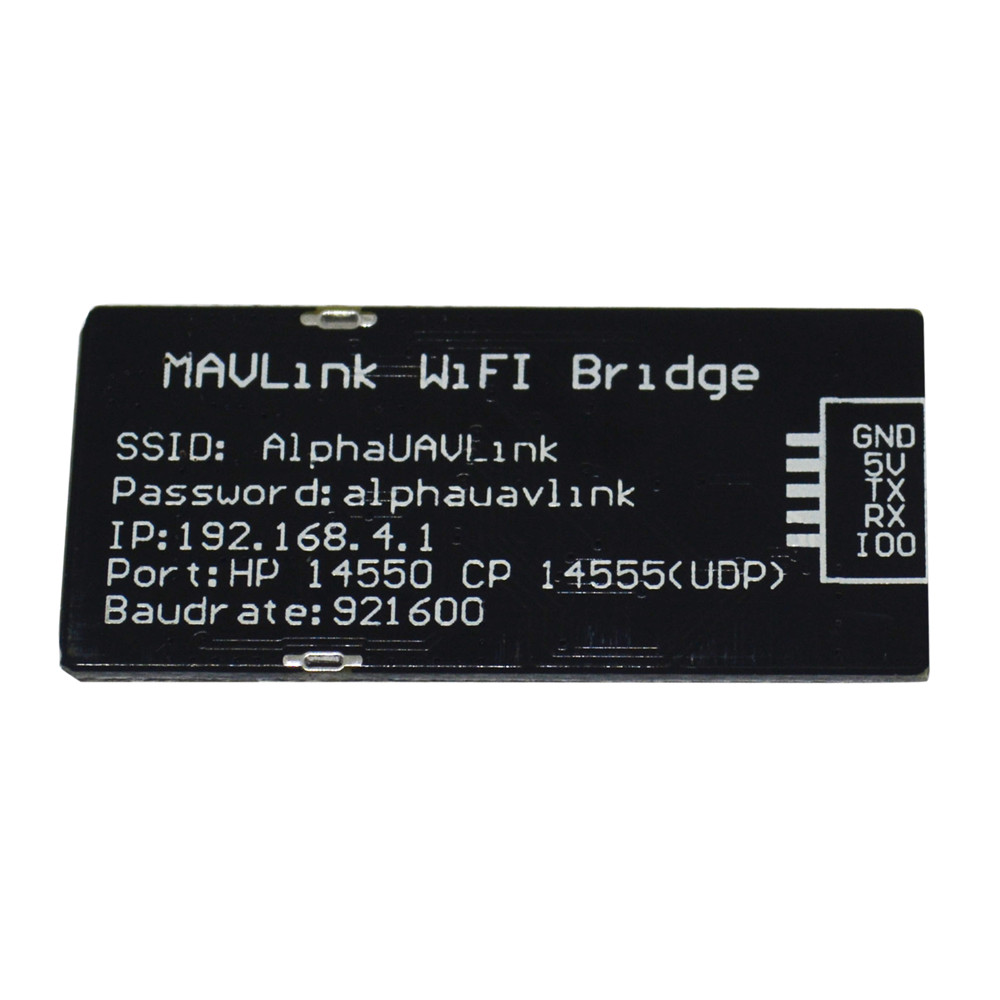
- SSID: ALPHAUAVLINK
- Code: alphauavlink
- Ground stataion IP: 192.168.4.1
- Protocol: UDP
- Braud: 921600
Usage:
For PIXHAWK:
1. If connected to Serial1/Telem1 these parameters should be set on the flight controller (if using another telemetry port,
replace the “1” in the parameter name with the telemetry port’s number):
replace the “1” in the parameter name with the telemetry port’s number):
2. SERIAL1_PROTOCOL = 2 (MAVLink2) or 1 (MAVLink1)
3. SERIAL1_BAUD = 921 (921600 baud)
4. If you have problems connecting, it may help to set BRD_SER1_RTSCTS = 0 to disable flow control
although this is not normally necessary Connecting from a Ground Station.
although this is not normally necessary Connecting from a Ground Station.
5. On your PC, open the wifi network connections screen and select the wifi access point (normally “ALPHAUAVLINK” or “alphauavlink”)
6. On the ground station, set the connection type to UDP and press “Connect”
7. If all is well the ground station will connect, download parameters
8. If you have problems connecting, it may help to set BRD_SER1_RTSCTS = 0 to disable flow control
although this is not normally necessary
FOR APM:
8. If you have problems connecting, it may help to set BRD_SER1_RTSCTS = 0 to disable flow control
although this is not normally necessary
FOR APM:
1. Directly insert in the flight contorl's data transimission port. When powered , there will be a wifi named ALPHAUAVLINK, the password is alphauavlink.
If connect successfully, it will distribute you an IP address 192.168.4.1.
If connect successfully, it will distribute you an IP address 192.168.4.1.
2. Start borwser and type in the browser's address bar "192.168.4.1", Then press Setup, changing baudrate to 57600, press SAVE, reboot APM flight control.
3. Turn on ground station software, set connect as UDP protocol, 57600 braud, 14500 connect port.
Noting:
1. Operating voltage: 4V to 7V, maximum support to 12V, but this time it would be more serious fever.
2. Working current: average current 0.11A, around the peak 0.2A, if connected to the flight control of other external devices more
(such as GPS, OSD, head, etc.), the best flight control through the power management module powered by electricity supply
If transfer for APM flight control, the total current only to about 0.5A.
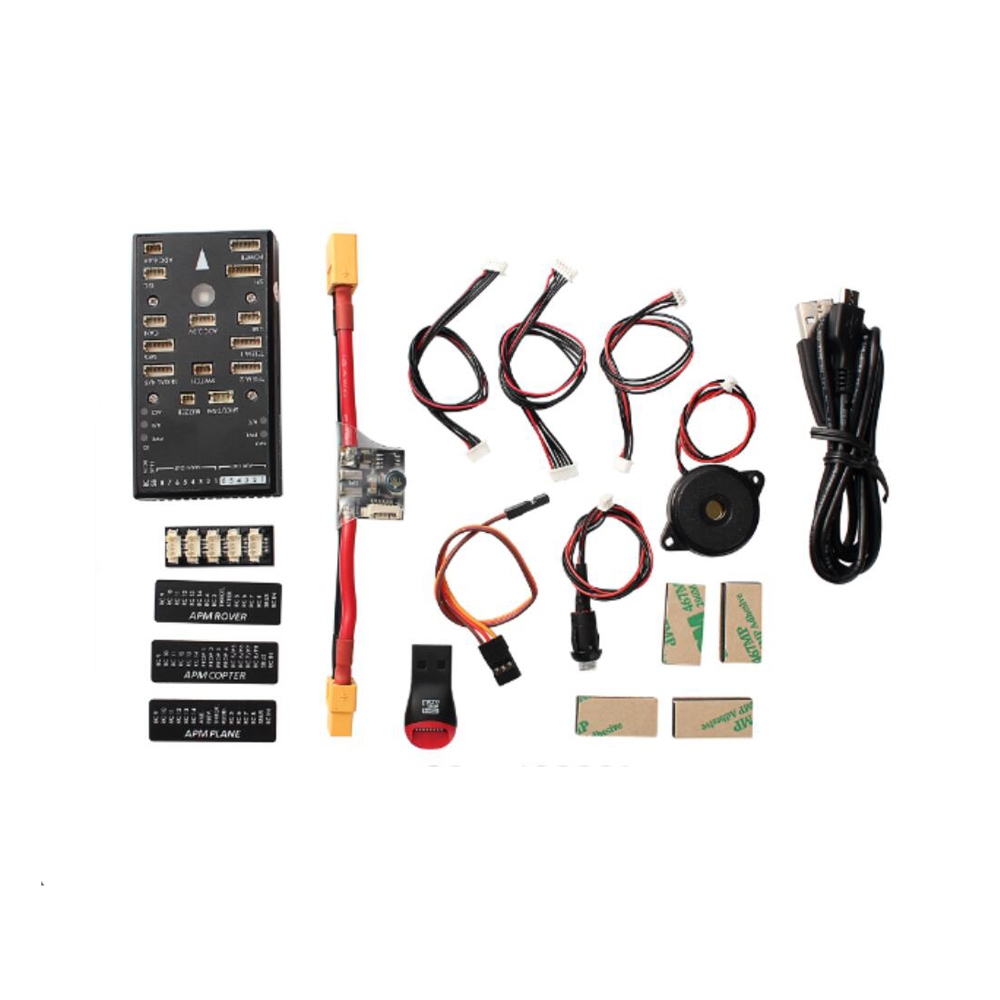
Package Included:
If transfer for APM flight control, the total current only to about 0.5A.
Package Included:
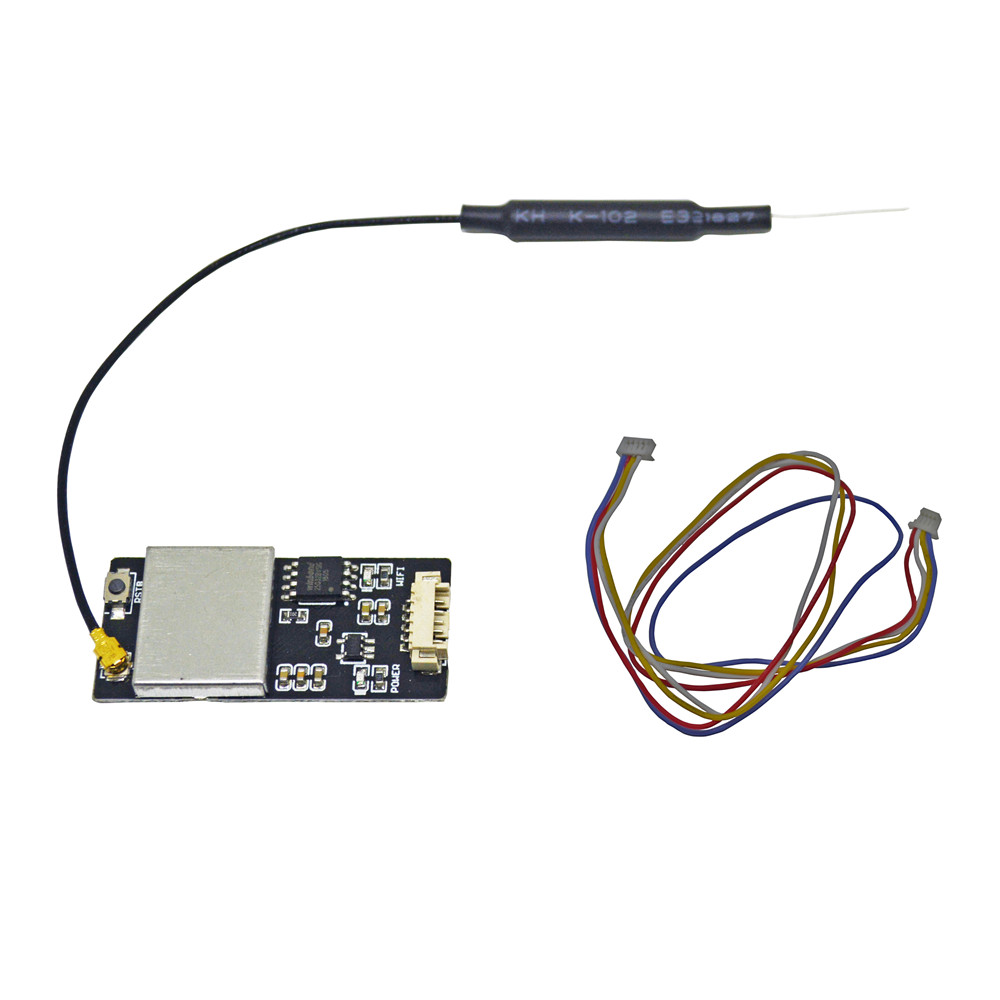
1 x 2.4G Wifi Telemetry Module
1 x Antenna
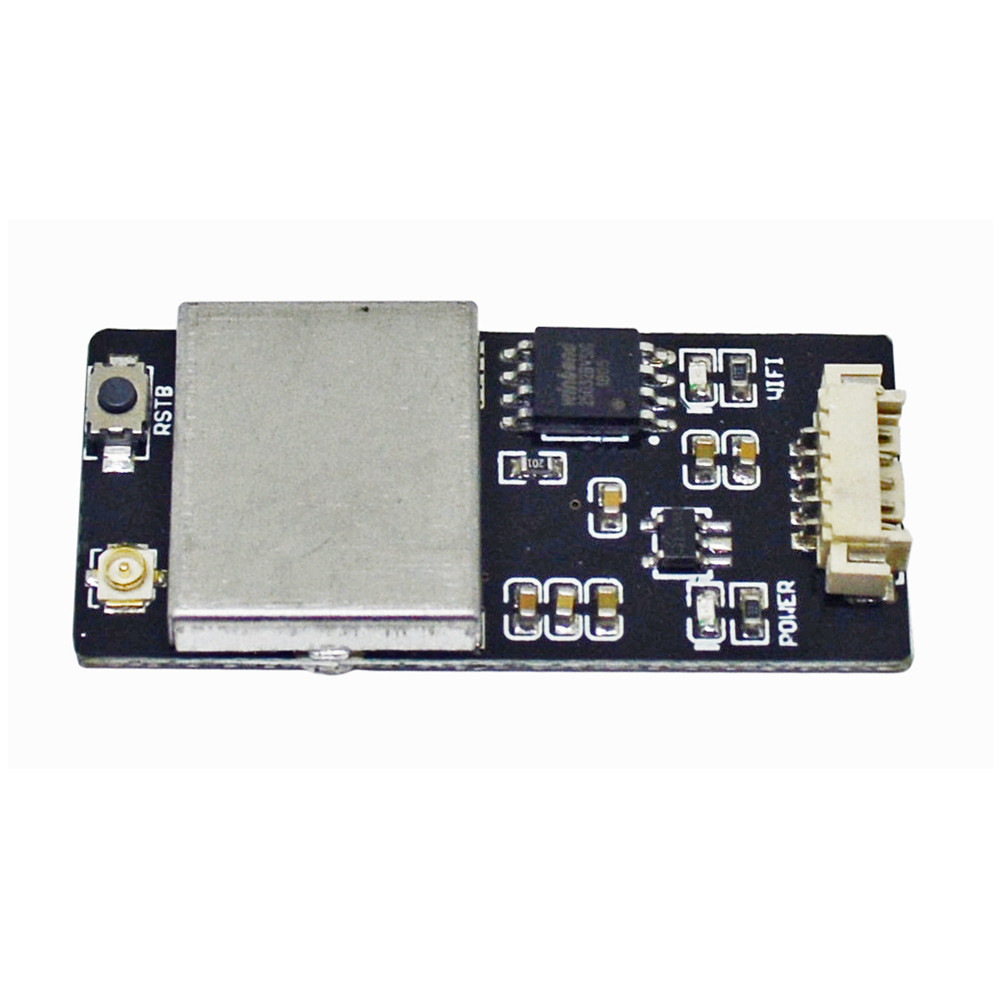
1 x Shielding Case
1 x APM wire or pixhawk wire


Advertising